How to Start a WordPress Blog: A Step-by-Step Guide for Beginners
 Thu Nghiem
Learn how to start a WordPress blog in 2024 with this step-by-step guide for beginners. From choosing a domain to publishing your first post, we cover everything you need to launch a professional blog without technical expertise.
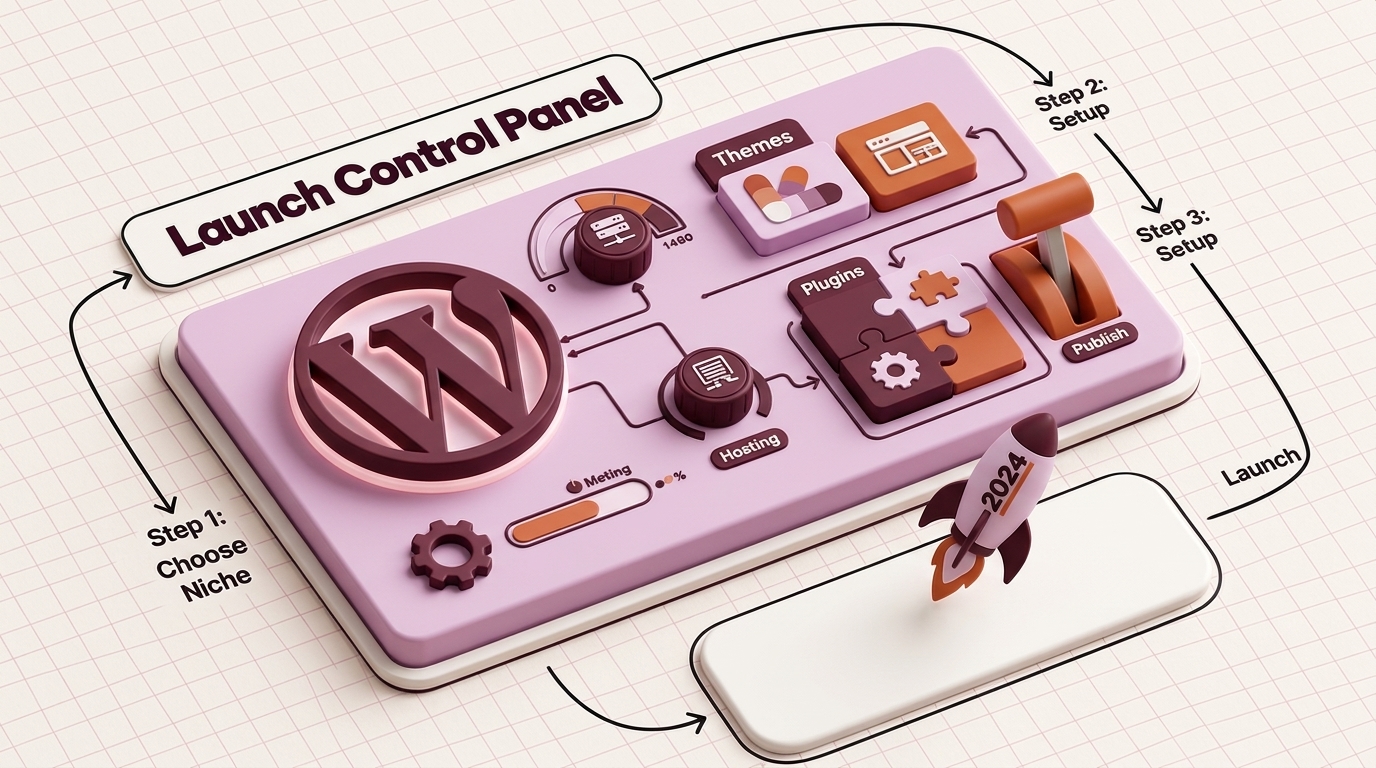
Starting a blog in 2024 is easier than ever, but the sheer number of options can feel overwhelming. If you’ve landed here, you’re likely looking for a straightforward way to launch a professional blog without needing a computer science degree. WordPress remains the top choice for bloggers—powering over 43% of all websites—and for good reason. It’s flexible, scalable, and beginner-friendly once you know the basics.
This guide walks you through every step, from choosing a domain name to publishing your first post. By the end, you’ll have a fully functional WordPress blog and the confidence to grow it. Let’s get started.
Why Choose WordPress for Your Blog?
WordPress comes in two flavors: WordPress.com (a hosted service) and self-hosted WordPress (WordPress.org). For a blog you fully control, self-hosted WordPress is the way to go. Here’s why:
- Flexibility: Customize your blog with thousands of themes and plugins. Want an online store? Add WooCommerce. Need better SEO? Install Yoast.
- SEO-Friendly: WordPress is built with search engines in mind. Clean code, customizable permalinks, and plugins like Rank Math help your blog rank higher.
- Scalability: Start small and grow. WordPress powers everything from personal blogs to enterprise sites like The New York Times.
- Community Support: With millions of users, you’ll find answers to almost any question in forums, tutorials, or Facebook groups.
Alternatives like Wix or Squarespace offer drag-and-drop simplicity, but they lack WordPress’s customization and long-term scalability. If you’re serious about blogging, WordPress is the best foundation.
Pre-Setup: What You Need Before Starting
Before diving into setup, gather these three essentials:
1. A Domain Name
Your domain is your blog’s address (e.g., yourblogname.com). Choose something:
- Memorable: Short, easy to spell, and brandable.
- Relevant: Reflects your blog’s topic (e.g.,
HealthyEatsForBusyMoms.com). - Available: Use a domain registrar like Namecheap or Google Domains to check availability.
Pro Tip: Avoid numbers, hyphens, or obscure spellings. Stick to .com unless you have a strong reason to choose another extension (e.g., .io for tech blogs).
2. Web Hosting
Hosting is where your blog’s files live. For beginners, managed WordPress hosting or shared hosting are the best options:
Hosting TypeBest ForRecommended Providers (2024)Starting PriceShared HostingBudget-conscious beginnersBluehost, SiteGround$3–$7/monthManaged WordPressHands-off maintenanceWP Engine, Kinsta$25+/month
Why SiteGround or Bluehost?
- One-click WordPress install: No technical setup required.
- Free SSL certificate: Secures your site with HTTPS (essential for SEO).
- 24/7 support: Help is available if you get stuck.
3. Budget Estimate
Here’s what you’ll spend to launch your blog:
ExpenseCost (Annual)NotesDomain$10–$15Renews annuallyHosting$36–$84Shared hosting (SiteGround/Bluehost)Premium Theme$0–$60Free themes work fine for beginnersPlugins$0–$100Most essential plugins are free
Total First-Year Cost: ~$50–$200 (depending on hosting and extras).
Step-by-Step: Setting Up Your WordPress Blog
Now that you have your domain and hosting, let’s set up WordPress.
Step 1: Buy a Domain and Hosting
-
Register your domain:
- Go to Namecheap or your preferred registrar.
- Search for your desired domain (e.g.,
MyAwesomeBlog.com). - Add to cart and complete checkout.
-
Purchase hosting:
- For this guide, we’ll use SiteGround (recommended for beginners).
- Visit SiteGround’s WordPress hosting page.
- Choose the StartUp plan ($3.99/month for the first year).
- During checkout, select "I already have a domain" and enter your domain name.
- Complete the purchase.
-
Link your domain to hosting:
- After purchasing hosting, SiteGround will send you an email with nameserver details (e.g.,
ns1.siteground.net). - Log in to your domain registrar (e.g., Namecheap).
- Find the DNS settings and update the nameservers to SiteGround’s.
- Save changes. It may take up to 48 hours for the changes to propagate (usually faster).
- After purchasing hosting, SiteGround will send you an email with nameserver details (e.g.,
Step 2: Install WordPress
Most hosting providers offer a one-click WordPress install. Here’s how to do it with SiteGround:
- Log in to your SiteGround account.
- Go to Websites > Site Tools for your domain.
- Navigate to WordPress > Install & Manage.
- Click Select under "WordPress."
- Fill in your admin email, username, and password (avoid "admin" as your username for security).
- Click Install. WordPress will be ready in under a minute.
Manual Install (Advanced): If your host doesn’t offer one-click install, you can manually install WordPress via FTP. This involves downloading WordPress from WordPress.org, uploading files to your server, and running the installation script. For most beginners, the one-click method is sufficient.
Step 3: Configure Basic Settings
After installing WordPress, log in to your dashboard (go to yourblogname.com/wp-admin and enter your credentials).
Essential Settings to Update:
-
Site Title and Tagline:
- Go to Settings > General.
- Update your Site Title (e.g., "Healthy Eats for Busy Moms") and Tagline (e.g., "Quick, nutritious recipes for families on the go").
- Click Save Changes.
-
Permalinks:
- Go to Settings > Permalinks.
- Select Post name (e.g.,
yourblogname.com/sample-post). This is best for SEO. - Click Save Changes.
-
Time Zone and Language:
- In Settings > General, set your Timezone (e.g., "New York") and Site Language (e.g., "English (United States)").
Step 4: Pick a Theme
Your theme controls your blog’s design. WordPress offers thousands of free and premium themes.
Free Themes for Beginners:
- Astra: Lightweight and customizable. Works well with page builders like Elementor.
- GeneratePress: Fast and SEO-friendly. Great for blogs and business sites.
- OceanWP: Versatile with built-in demo sites.
How to Install a Theme:
- Go to Appearance > Themes.
- Click Add New.
- Search for your chosen theme (e.g., "Astra").
- Click Install > Activate.
Customizing Your Theme:
- Go to Appearance > Customize.
- Here, you can:
- Change colors and fonts.
- Upload a logo.
- Adjust layout settings (e.g., sidebar position).
- Preview changes before publishing.
Pro Tip: Start with a free theme. Upgrade to a premium theme later if you need more features.
Step 5: Install Essential Plugins
Plugins add functionality to your blog. Here are the must-haves for beginners:
| Plugin | Purpose | Free/Premium | Installation Steps |
|---|---|---|---|
| Yoast SEO | Improves search engine rankings | Free | Plugins > Add New > Search > Install > Activate |
| Wordfence | Protects against hackers | Free | Plugins > Add New > Search > Install > Activate |
| WP Rocket | Speeds up your site | Premium | Upload plugin file via Plugins > Add New > Upload |
| UpdraftPlus | Backs up your blog | Free | Plugins > Add New > Search > Install > Activate |
| MonsterInsights | Connects to Google Analytics | Free | Plugins > Add New > Search > Install > Activate |
How to Install a Plugin:
- Go to Plugins > Add New.
- Search for the plugin (e.g., "Yoast SEO").
- Click Install Now > Activate.
Avoid Plugin Bloat: Too many plugins can slow down your site. Stick to essentials and delete unused plugins.
Designing Your Blog for Success
A well-designed blog keeps readers engaged and encourages them to return. Here’s how to set up your blog’s structure:
Customize Your Homepage
WordPress lets you choose between a static homepage (a custom page) or a blog feed (displays your latest posts).
- Go to Settings > Reading.
- Under Your homepage displays, select:
- Your latest posts (for a traditional blog).
- A static page (for a custom homepage, e.g., a welcome page).
- Click Save Changes.
Create Key Pages
Every blog needs these pages:
-
About Page:
- Go to Pages > Add New.
- Title: "About" or "About Me."
- Write a brief introduction (who you are, why you started the blog, and what readers can expect).
- Add a photo and click Publish.
-
Contact Page:
- Install the WPForms Lite plugin (free).
- Go to WPForms > Add New to create a contact form.
- Add the form to a new page titled "Contact."
-
Privacy Policy:
- Go to Settings > Privacy.
- Click Create New Page. WordPress will generate a template.
- Customize the template with your details and click Publish.
Add a Navigation Menu
- Go to Appearance > Menus.
- Click Create a new menu.
- Name your menu (e.g., "Main Menu").
- Add pages (e.g., Home, About, Contact, Blog) by checking the boxes and clicking Add to Menu.
- Drag and drop to reorder items.
- Under Menu Settings, check Primary Menu.
- Click Save Menu.
Test Mobile Responsiveness
Over 50% of web traffic comes from mobile devices. To test your blog:
- Go to Appearance > Customize.
- Click the mobile icon at the bottom to preview your site on different devices.
- Adjust settings (e.g., font size, spacing) if needed.
Publishing Your First Blog Post
Now for the fun part—writing and publishing your first post!
Writing and Formatting a Post
- Go to Posts > Add New.
- Enter a title (e.g., "10 Quick and Healthy Breakfast Ideas for Busy Moms").
- Use the Gutenberg editor (WordPress’s block-based editor) to add content:
- Paragraph blocks: For regular text.
- Heading blocks: For subheadings (H2, H3).
- Image blocks: To add photos.
- List blocks: For bullet points or numbered lists.
Pro Tip: Use short paragraphs (2–3 sentences) and subheadings to improve readability.
Adding Images and Media
- Click the + icon in the editor and select Image.
- Upload an image from your computer or select one from your Media Library.
- Add alt text (a brief description of the image for SEO, e.g., "healthy breakfast smoothie with berries").
Organizing with Categories and Tags
- Categories: Broad topics (e.g., "Recipes," "Parenting Tips").
- Tags: Specific keywords (e.g., "quick meals," "kid-friendly").
- On the right sidebar, click Categories or Tags.
- Add new categories/tags or select existing ones.
Previewing and Scheduling
- Click Preview to see how your post will look.
- To schedule for later:
- Click Publish > Immediately > Schedule.
- Select a date and time.
- Click Schedule.
Publishing and Sharing
- Click Publish to make your post live.
- Share on social media:
- Use plugins like Smash Balloon Social Post Feed to auto-share posts.
- Manually share on platforms like Facebook, Twitter, or Pinterest.
Launching and Promoting Your Blog
Your blog is live—now it’s time to get readers.
Pre-Launch Checklist
Before promoting, ensure everything works:
- Proofread all pages and posts.
- Test all links (especially in your menu and contact form).
- Check mobile responsiveness (use Google’s Mobile-Friendly Test).
- Install Google Analytics (via MonsterInsights) to track visitors.
Submit to Google Search Console
- Go to Google Search Console.
- Click Start Now and sign in with your Google account.
- Enter your blog’s URL and verify ownership (follow the prompts).
- Submit your sitemap (generated by Yoast SEO) to help Google index your site.
Basic Promotion Strategies
-
Social Media:
- Share your posts on platforms where your audience hangs out (e.g., Pinterest for food blogs, LinkedIn for business blogs).
- Join Facebook groups or subreddits related to your niche and share your content (follow group rules to avoid spam).
-
Email List:
- Install a plugin like Mailchimp for WordPress to collect emails.
- Offer a freebie (e.g., a recipe ebook) to encourage sign-ups.
-
Networking:
- Comment on other blogs in your niche.
- Guest post on established blogs to reach new audiences.
Encourage Reader Engagement
- End posts with a call-to-action (e.g., "What’s your favorite quick breakfast? Share in the comments!").
- Respond to comments to build community.
- Use plugins like WPForms to create polls or surveys.
Maintaining and Growing Your Blog
Launching your blog is just the beginning. Here’s how to keep it running smoothly and grow your audience:
Regular Updates
- WordPress Core: Update when new versions are released (go to Dashboard > Updates).
- Themes and Plugins: Update regularly to patch security vulnerabilities.
- Backups: Use UpdraftPlus to schedule automatic backups (e.g., weekly).
Monitor Performance
- Google Analytics: Track visitors, page views, and popular content.
- Google Search Console: Monitor search rankings and fix errors.
- Page Speed: Use GTmetrix to test loading times. Optimize images and use caching plugins like WP Rocket to improve speed.
Scale Your Blog
-
Content Planning:
- Use a tool like Trello or Notion to organize post ideas.
- Aim for consistency (e.g., one post per week).
-
Monetization:
- Affiliate Marketing: Promote products you love (e.g., Amazon Associates).
- Ads: Join ad networks like Mediavine or AdThrive (requires traffic).
- Digital Products: Sell ebooks, courses, or printables.
-
SEO:
- Use Yoast SEO to optimize posts for target keywords.
- Build backlinks by guest posting or getting featured in roundups.
Final Thoughts
Starting a WordPress blog in 2024 is simpler than you think. With the right domain, hosting, and a few essential plugins, you can launch a professional blog in under an hour. The key is to start small, focus on creating valuable content, and grow over time.
Your Next Steps:
- Buy your domain and hosting (e.g., SiteGround).
- Install WordPress and pick a theme.
- Publish your first post and share it with the world.
Blogging is a journey—don’t wait for perfection. Start today, learn as you go, and watch your blog (and audience) grow. Happy blogging!